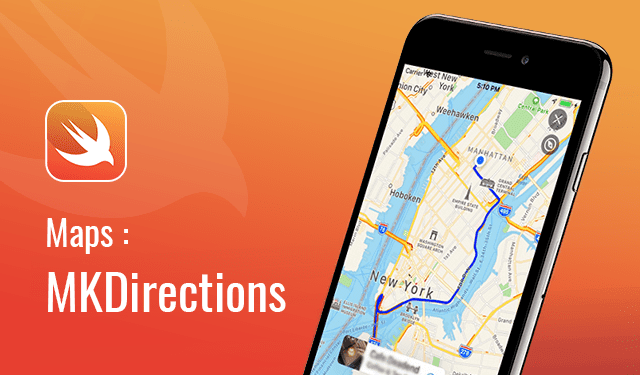
Understanding Maps : MKDirections API
MKDirections API
In a recent app, I had to work on routes and directions between user current location and a destination location. In the process, I tried my hands on MKDirections API, Google Directions API and Here Maps API. Each of these APIs has its own merits and demerits. In this series, I will cover all three APIs. let’s start with the first one, MKDirections API.
Overview
MKDirections API is a native API provided by Apple as a part of the MapKit Framework and is available for iOS 7.0+, macOS 10.9+, Mac Catalyst 13.0+, tvOS 9.2+. The main purpose of the API is to provide route information from a source point to a destination point depending upon the mode of transportation eg automobile, walking, transit and any (default).
Let’s take a look at some frequently used terms:
MKMapItem
This object represents a point on the map. In this case, source and destination points.
MKDirection Request
This is an object which is configured to get route. Request object takes two MKMapItem type objects as source and destination. Other properties can also be configured like transportType, requestsAlternateRoutes, etc.
MKDirections
We need to create an MKDirections object by passing the request as parameter. This object is used to calculate the reasonable route(s) from the starting point to the endpoint.
Let’s dive into the code
I have created a demo project in XCode. I hope the reader of the article knows how to create a project in XCode, so I will not explain that stuff. I have created the following method to create possible route(s) between two points.
   func drawRoute(){
        /* First we need to create MKDirections */
        /* request object and then we modify it */
        /* by giving the location coordinates */
        /* from source to destination. */

        let request = MKDirections.Request()
        request.source = MKMapItem(placemark: MKPlacemark(coordinate: CLLocationCoordinate2D(latitude:30.711378, longitude:76.688981), addressDictionary: nil))
        request.destination = MKMapItem(placemark: MKPlacemark(coordinate: CLLocationCoordinate2D(latitude: 30.710653, longitude: 76.694814), addressDictionary: nil))

        /* Then we need to specify the transport */
        /* type which is either .automobile .walking */
        /* transit any Default any */

        request.transportType = .automobile

        /* There may be different route from the */
        /* source to destination. So if we want to */
        /* display multiple routes then we need to */
        /* set the requestsAlternateRoutes to true. */
        /* By default is no */

        request.requestsAlternateRoutes = true

        /* Then we need to create MKDirections */
        /* object by passing the request as parameter. */
        /* This object is used to calculate resonable */
        /* route(s) from starting point to end point */

        let directions = MKDirections(request: request)

        directions.calculate { [unowned self] response, error in

            /* There may occur error while calculating */
            /* the route, e.g. route between the source */
            /* and destination may not be available or */
            /* the coordinates may not be correct etc. */
            /* In that case we need to handle the flow */
            /* as per our requirements */

            if error != nil {
                return
            }

            /* If there is no error then we need to */
            /* check the response for the route values */

            guard let routeData = response else { return }

            /* Here I have sort the routes by distance */
            /* in assending order if there are multiple route */

            let sortedRoutes = routeData.routes.sorted(by: { $0.distance > $1.distance })

            /* Then we loop through the sorted route and */
            /* add the polyline property to the MkRoute object */

            var index = 0
            for route in sortedRoutes {

                if index == sortedRoutes.count-1{
                    route.polyline.title = "shortest"
                }
                index += 1
                self.mkMapView.addOverlay(route.polyline)
                self.mkMapView.setVisibleMapRect(route.polyline.boundingMapRect, animated: true)
            }
        }
    }
In this method, we have created two MKMapItem objects. These objects represent source and destination points on the map. These two points are assigned to the MKDirection Request object. We have also configured the request to display the route for a motor vehicle and alternate routes. After creating the request object, we used it to create MKDirections object. Up to this point, we have created all the objects required to get the route(s) between source and destination. Now, we are all set to get the route(s). We need to call the calculate method on the directions object with a completion handler. In the completion handler, we will get the possible route(s) if no error occurs.
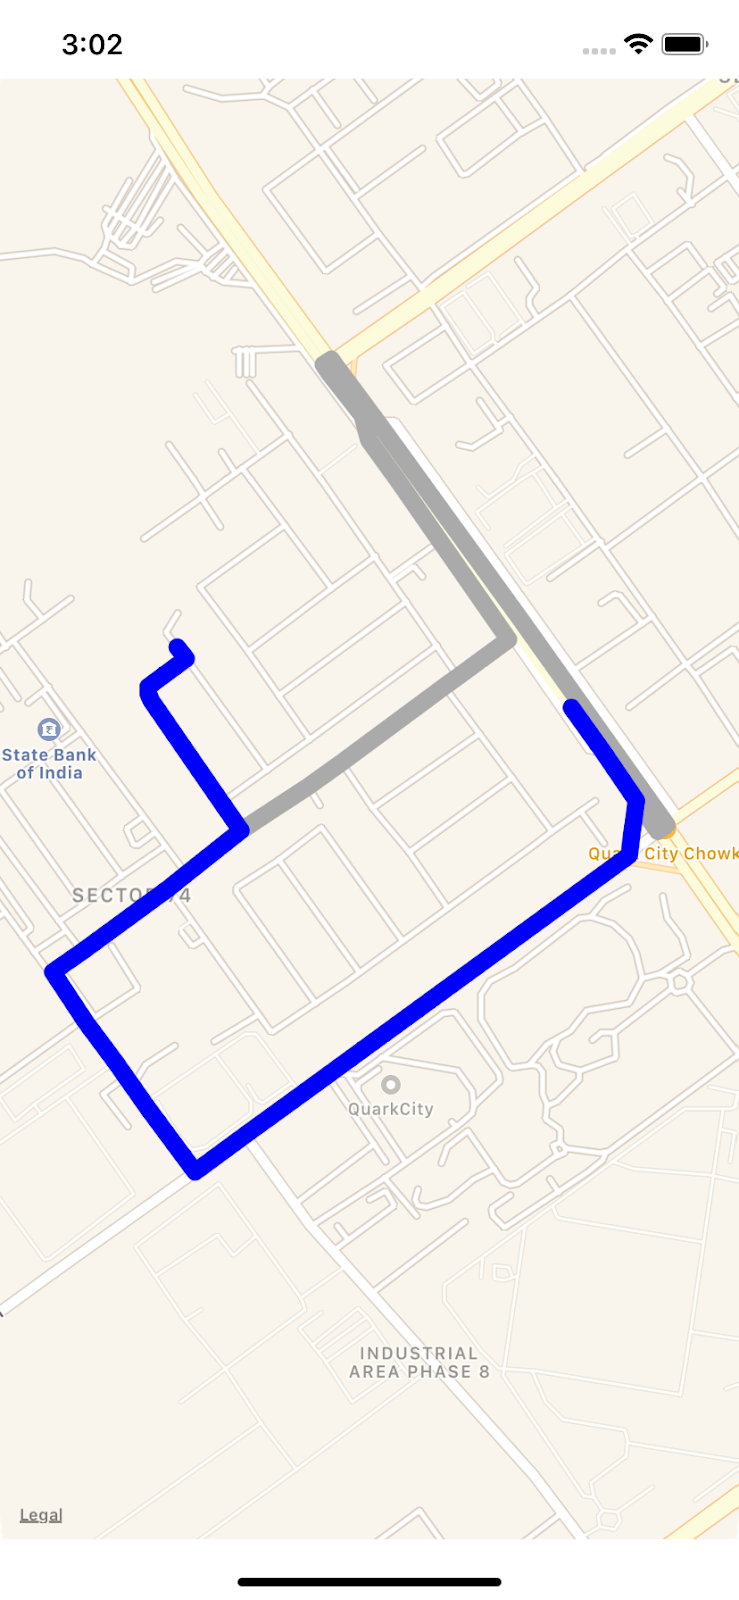
After getting the route(s) in the completion handler, we sorted it in descending order of route distance. To display these routes on the map we need to add route polyline as an overlay on the MKMap object. We have assigned the title equal to “shortest”, for the route with the shortest distance. We can use this value to assign a different color to the shortest route to distinguish it from other routes.
/*MKMapViewDelegate : mapkit delegate extension*/

extension ViewController : MKMapViewDelegate {
    /* This function is used to render the polyline on the screen*/
    func mapView(_ mapView: MKMapView, rendererFor overlay: MKOverlay) -> MKOverlayRenderer {

        let polyline = overlay as! MKPolyline

        let renderer = MKPolylineRenderer(polyline: polyline)
        if polyline.title == "shortest"{
            renderer.strokeColor = UIColor.blue
        }else{
            renderer.strokeColor = UIColor.lightGray
        }

        return renderer
    }
}
In this article, we have learned how to display the route on MKMaps using MKDirections API.
Feel free to contact me for any further clarification on the subject matter.
Stay Tuned: In my next article, we will use the Google Directions API to accomplish the same functionality.
If you enjoyed this blog post, share it with your friends!
Cheers for the Bright Future!!!